Unlocking the Ultimate Moisture in Milopita: Your Guide to Greek Apple Cake with Olive Oil & Yogurt
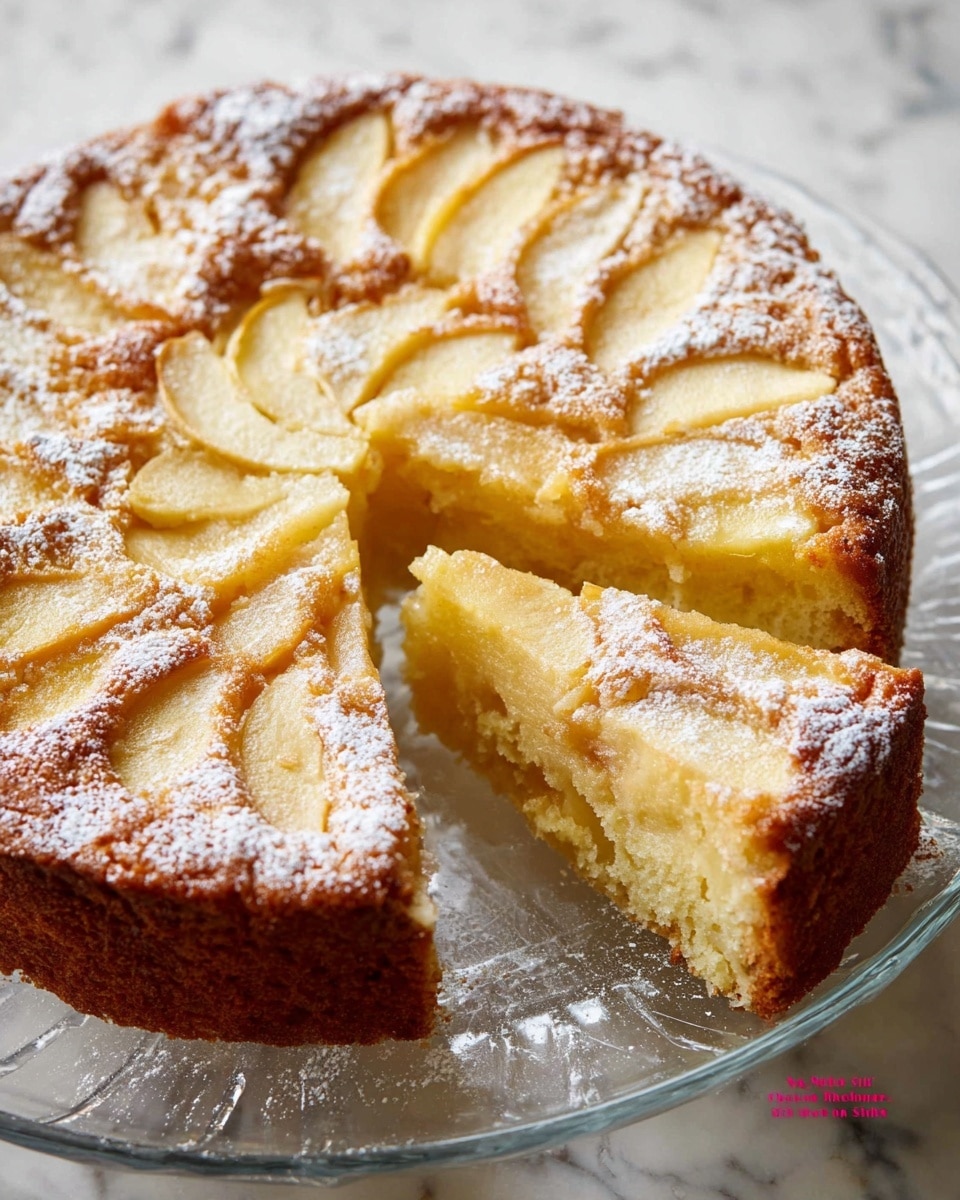
There’s a special kind of warmth that only a homemade cake can bring, and when that cake is a traditional Greek apple cake, known as Milopita (μηλόπιτα), it's truly something comforting. Far more than just a dessert, Milopita holds a cherished place in Greek homes, often enjoyed with a strong cup of coffee or tea to start the day, or as a delightful end to a family meal. While variations exist, some calling for butter, others opting for oil, this guide will unlock the secrets to a truly exceptional Milopita: one that leverages the rich notes of olive oil and the creamy tang of Greek yogurt for an unparalleled moistness and a wonderfully earthy crumb.
Forget the dry, crumbly cakes of your past. This isn't your average fluffy bakery confection. This version of Greek apple cake offers a denser, heartier texture that remains surprisingly light on the palate and stomach. It’s the kind of cake you'll want to slice thick, savor slowly, and undoubtedly come back to for seconds (or even a cheeky breakfast piece!).
What Makes Milopita with Olive Oil & Yogurt So Irresistibly Moist?
The quest for a perfectly moist cake often leads to adding more butter or extra eggs, but the traditional Greek approach for certain sweets, like this Milopita, takes a different, equally effective, and often healthier path. The combination of olive oil and Greek yogurt isn't just about authenticity; it's a culinary power duo designed for supreme moisture and tender crumb. Here’s why these ingredients are game-changers:
- Olive Oil: The Mediterranean Secret Weapon
Unlike butter, which solidifies when cool, olive oil remains liquid at room temperature, contributing to a cake that stays softer and more tender for longer. Its characteristic fruity, peppery notes don't just add moisture; they infuse the Greek apple cake with a distinct, sophisticated flavor that complements the sweetness of the apples and sugar beautifully. Opt for a good quality extra virgin olive oil for the best taste, but even a lighter olive oil will do the trick. It provides a unique depth, making the cake feel less heavy than its butter-laden counterparts. - Greek Yogurt: The Tangy Tenderizer
The addition of Greek yogurt is where the magic truly happens for an unbelievably moist Milopita. Yogurt adds a subtle tang that balances the sweetness, but its primary role is to bring incredible moisture and tenderness to the cake. The acidity in the yogurt reacts with the baking soda (or baking powder), creating a lighter texture, while its creamy consistency ensures a truly succulent crumb. It's a natural emulsifier, helping to bind the ingredients and retain moisture without making the cake dense or greasy. - Fresh Apples: Nature's Own Sweetness and Moisture
Of course, no apple cake would be complete without the star ingredient itself. Freshly sliced apples, especially varieties known for holding their shape and flavor during baking, contribute their own natural moisture and a delightful texture contrast. They soften but don't completely disintegrate, providing pockets of fruity goodness throughout the cake. Tossing them in lemon juice not only prevents browning but also adds a bright, zesty note that enhances the overall flavor profile. - Pure Vanilla Extract: The Flavor Enhancer
While often overlooked, the quality of your vanilla extract significantly impacts the overall flavor of your Milopita. Using pure vanilla extract, rather than artificial vanilla flavoring, ensures a rich, warm aroma and taste that elevates all the other ingredients.
Crafting Your Own Moist Milopita: A Step-by-Step Approach
Making this version of Greek apple cake is surprisingly straightforward, often requiring just one or two bowls and minimal fuss. It’s designed for home bakers seeking delicious results without needing a professional mixer.
- Preparation is Key: Preheat your oven to a moderate temperature (around 320°F / 160°C). Prepare a 10-inch springform pan by lightly greasing it, ideally with a touch of olive oil, and then dusting it with flour. This ensures an easy release and a beautifully golden crust.
- Apple Perfection: Peel, core, and thinly slice your apples. Aim for consistent thickness for even baking. Immediately toss them in a bowl with a squeeze of fresh lemon juice. This simple step prevents oxidation and adds a lovely bright note to the fruit. Set aside. When choosing apples, varieties like Fuji, Gala, Honeycrisp, or Golden Delicious are excellent choices as they hold their shape and offer a good balance of sweetness and tartness.
- Dry Ingredients Harmony: In a medium bowl, whisk together your all-purpose flour and baking powder. A pinch of salt can also be added to enhance the flavors. Set this aside.
- Wet Ingredients Whipped to Perfection: In a larger mixing bowl, combine the olive oil, granulated sugar, eggs, Greek yogurt, and pure vanilla extract. Use a whisk or a hand mixer on medium speed to beat these ingredients until they are light, creamy, and well combined. This is the foundation of your moist cake.
- Combining for Comfort: Gradually add the dry flour mixture to the wet ingredients, mixing on low speed until just combined. It's crucial not to overmix the batter at this stage, as overmixing can develop the gluten too much, leading to a tougher cake. A few streaks of flour are perfectly fine.
- Layering for Delight: Pour about half of the cake batter into your prepared springform pan, spreading it evenly. Arrange about half of your lemon-tossed apple slices over the batter, gently pressing them down. Spoon the remaining batter over the apples, then artfully arrange the rest of the apple slices on top, again pressing them gently into the batter. This ensures apple in every bite!
- Optional Glaze (for extra richness): For an extra layer of flavor and moisture, you can prepare a simple glaze. In a small pan, warm a tablespoon of olive oil, a quarter cup of brown sugar, and a teaspoon of cinnamon over medium heat, stirring until the sugar dissolves. Drizzle this fragrant mixture evenly over the apples on top of the cake before baking.
- Baking to Golden Perfection: Bake the Greek apple cake for 45-60 minutes, or until the top is golden brown and a toothpick inserted into the center comes out clean. Baking times can vary depending on your oven, so keep an eye on it.
- Cooling with Patience: Once baked, let the cake cool in the springform pan for at least 15-20 minutes. This allows the delicate cake to set and prevents it from crumbling when you try to remove it. Remember, this cake is quite delicate until fully cooled!
Tips for Milopita Perfection and Inspired Serving Suggestions
To ensure your Milopita turns out perfectly every time, keep these practical tips in mind:
- Don't Rush the Cooling: As mentioned, patience is a virtue here. Allowing the cake to cool sufficiently in the pan is critical for its structural integrity.
- Apple Variety Matters: Experiment with different apple varieties to find your favorite flavor and texture. A mix of sweet and tart apples can create a more complex flavor profile.
- Spice it Up: While cinnamon is classic, feel free to add a pinch of nutmeg, cardamom, or even a tiny bit of allspice to your batter for an added layer of warmth.
- Go Nuts: For extra texture and flavor, gently fold in a handful of chopped walnuts or almonds into the batter before baking.
- Embrace the Single Bowl: If you're looking for ultimate simplicity, some versions of this Greek apple cake are truly "one-bowl wonders." You can often combine all wet ingredients, then gradually fold in the dry, minimizing cleanup.
Once cooled, your homemade Milopita is ready to be enjoyed. The beauty of this Milopita: The Traditional Greek Apple Cake for Any Time lies in its versatility:
- Breakfast Delight: Slice it thick and enjoy it with your morning coffee or tea. Its hearty, comforting nature makes it a wonderful way to start the day.
- Elegant Dessert: Serve it warm with a scoop of vanilla bean ice cream, a dollop of extra Greek yogurt, or a drizzle of honey. A sprinkle of icing sugar just before serving adds a touch of elegance.
- Crowd-Pleaser: This cake is guaranteed to be a hit at any gathering. Its unique flavor and moist texture make it memorable. Learn more about why Homemade Milopita: Why This Greek Apple Cake is a Crowd-Pleaser.
- Snack Time Savior: A simple slice for an afternoon pick-me-up is truly satisfying.
Conclusion
Milopita, the quintessential Greek apple cake, is more than just a recipe; it's an experience of comfort, tradition, and incredible flavor. By harnessing the power of olive oil and Greek yogurt, you can create a cake that is not only deeply moist and tender but also imbued with a unique earthy richness. This comprehensive guide has provided you with the foundational knowledge and tips to bake a Milopita that will undoubtedly become a treasured recipe in your own home. So, gather your ingredients, preheat your oven, and prepare to delight your senses with this truly special Greek treat.
